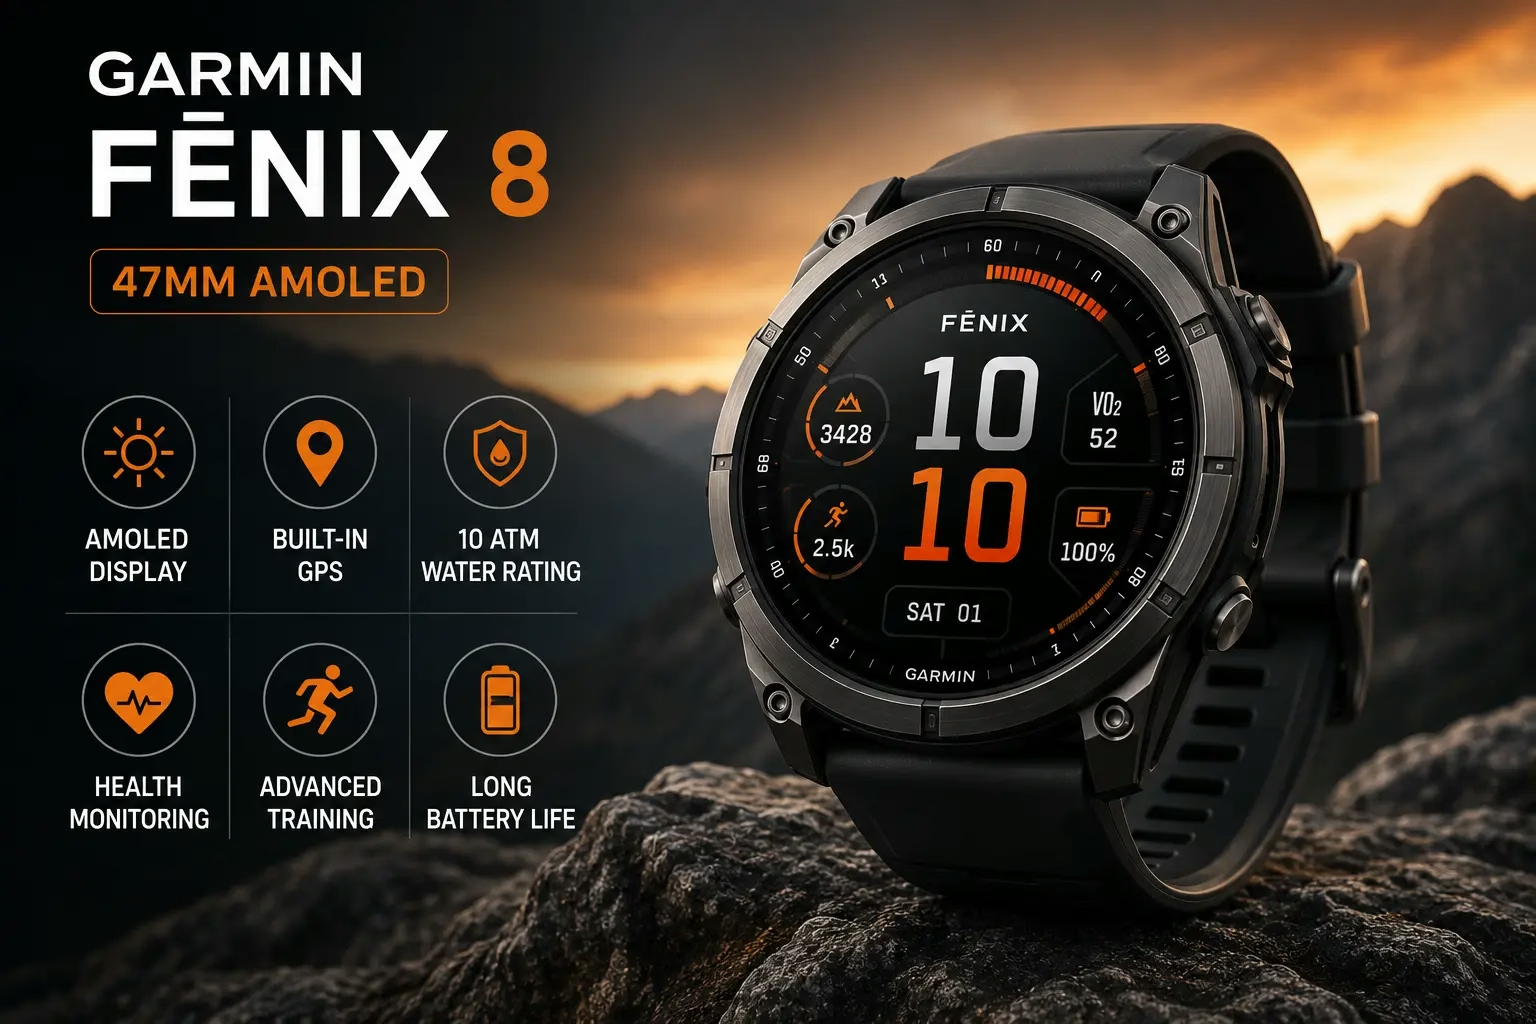
How to Use Garmin Fenix 8:
Setup, GPS, Battery & Training Guide
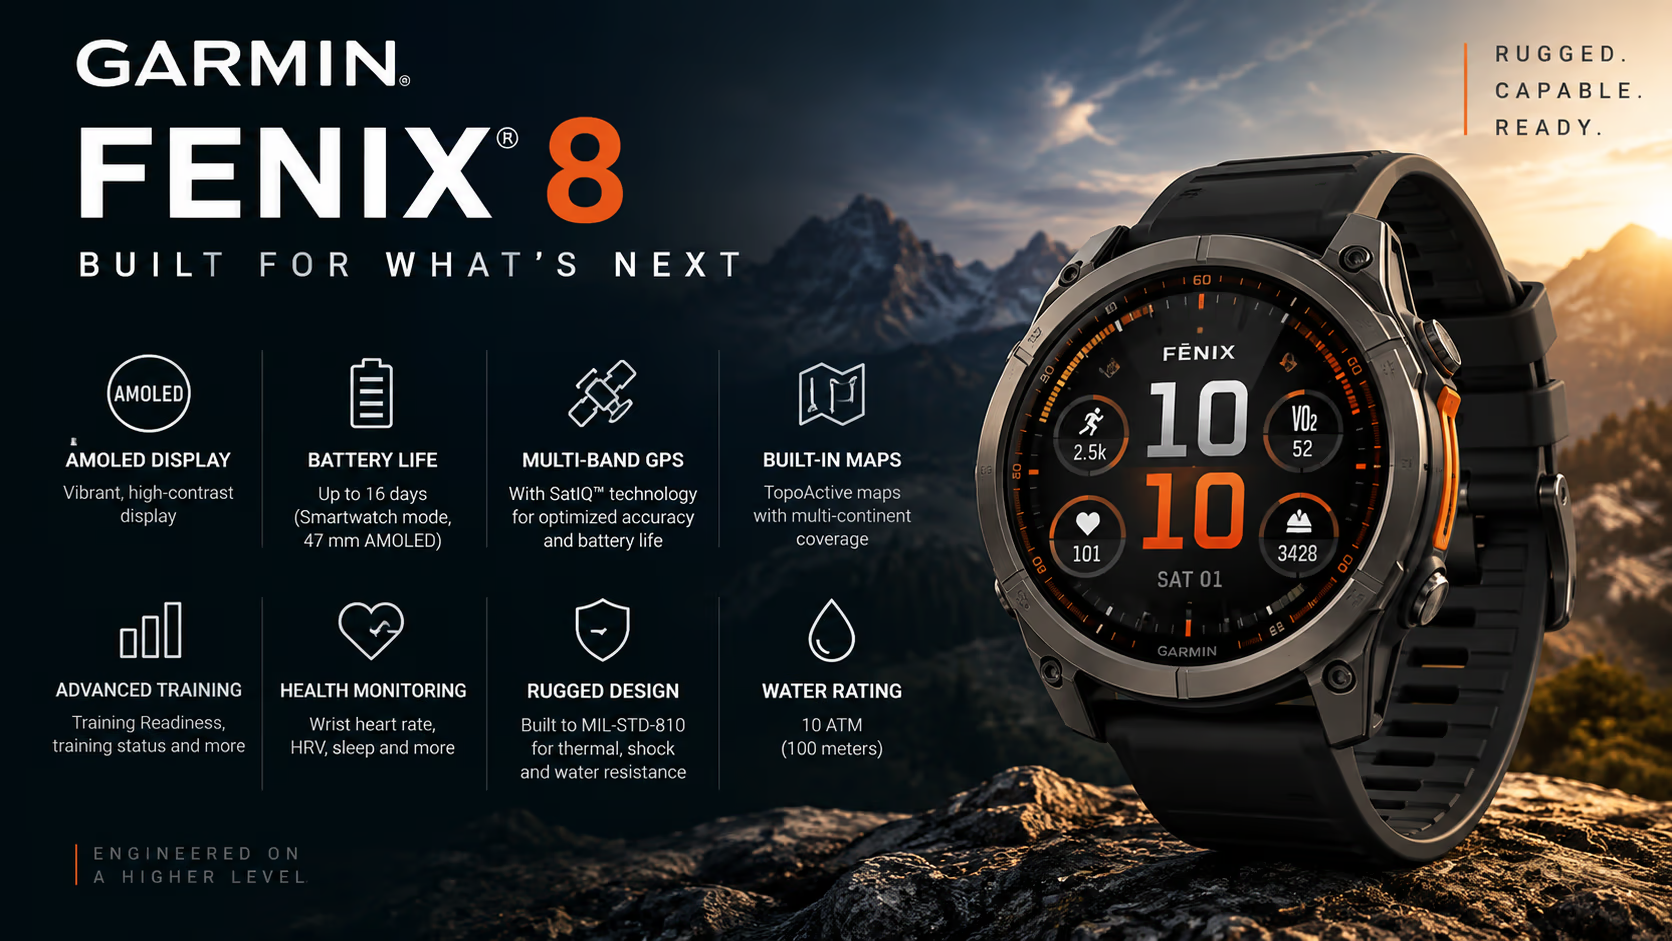
Learn how to set up and use Garmin Fenix 8, pair it with Garmin Connect, understand the buttons and touchscreen, choose GPS and SatIQ settings, configure health tracking, use Training Readiness, start workouts, navigate with maps, connect sensors, and manage battery life.
ON THIS PAGE
Garmin Fenix 8 Setup: What to Do First
If you are searching for how to use Garmin Fenix 8, the best place to begin is the initial setup sequence. Garmin designed the watch so that the core connected features are configured through the Garmin Connect app, while activity, GPS, map, health, training, and device settings can then be adjusted directly on the watch.
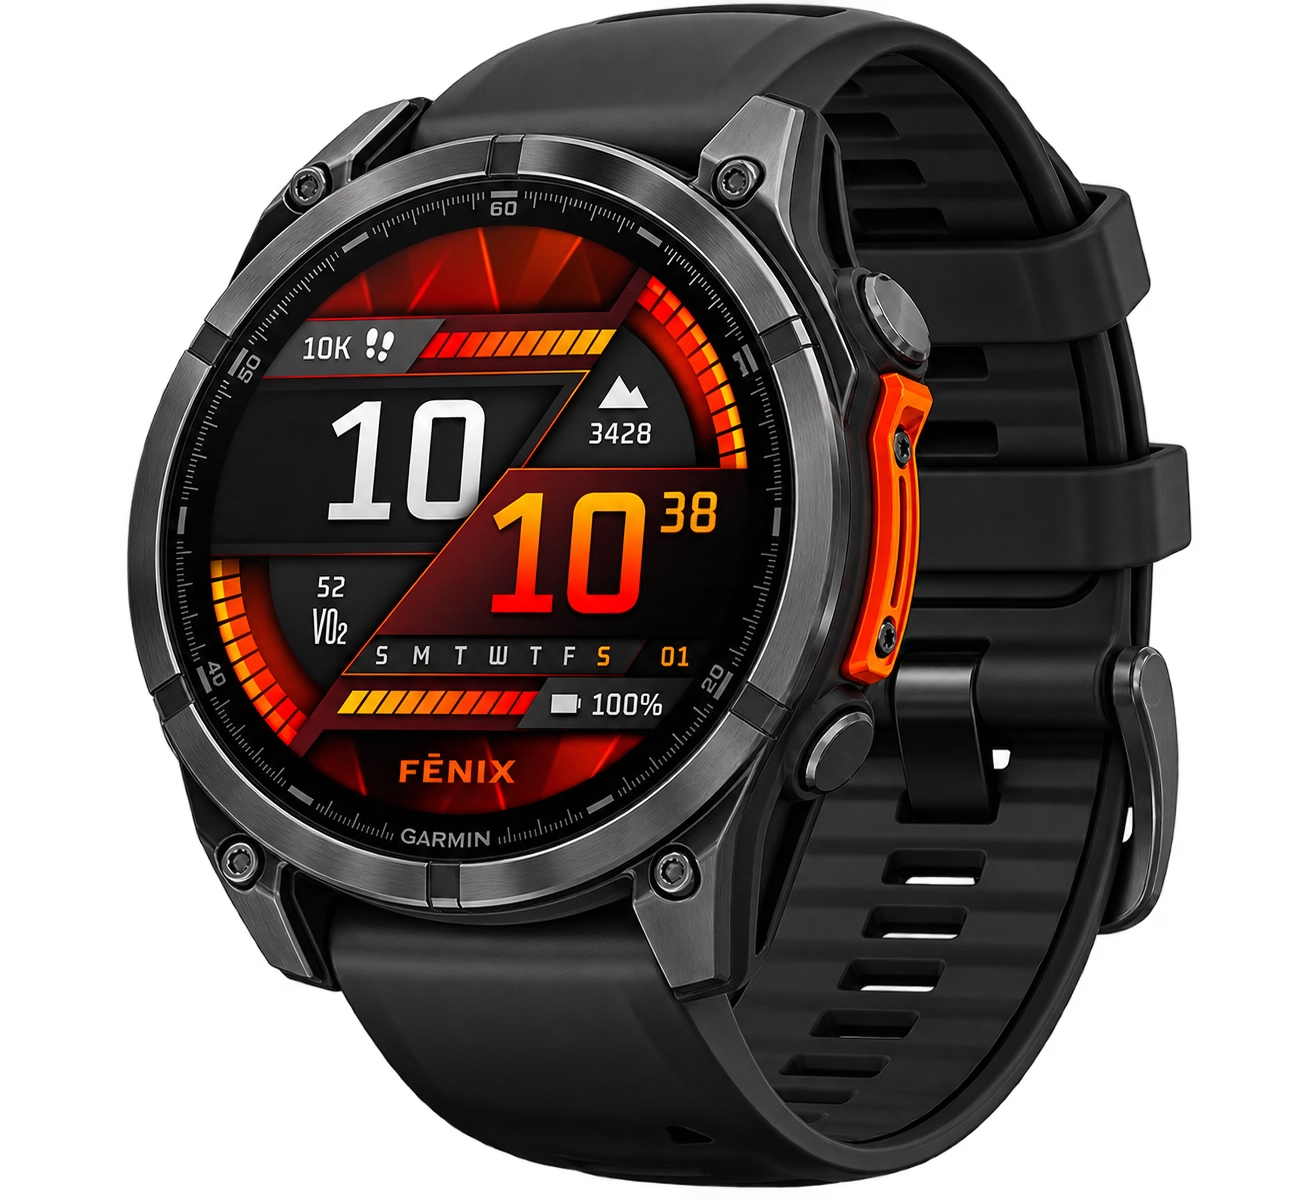
The Garmin Fenix 8 family includes AMOLED and Solar versions, and Garmin’s official documentation covers multiple case sizes and feature combinations. The menu paths in this guide follow Garmin’s current Fenix 8 Series owner’s manual, version 8, published in June 2026. Some options can vary by model, region, installed software, or activity profile.
Hold the upper-left button for about three seconds to power on the watch. Follow the on-screen language, unit, and profile prompts.
Use the Garmin Connect app on your compatible smartphone. Garmin specifies that phone pairing should be completed inside Garmin Connect rather than from the phone’s Bluetooth settings.
Scan the QR code shown during setup and follow the prompts. Once paired, Garmin Connect can sync activity and health data with your Garmin account.
Add the sports you use most often to your favorites, then review data screens, alerts, satellite settings, routing options, and training settings for those activities.
Consistent wear is important if you want Garmin’s sleep, HRV, stress, Body Battery, Training Readiness, and other trend-based metrics to become useful over time.
How to Pair Garmin Fenix 8 With Your Phone
Garmin states that connected features require the watch to be paired directly through the Garmin Connect app, not through the smartphone’s standard Bluetooth settings. During first-time setup, accept the phone-pairing prompt, scan the QR code, and follow the instructions in Garmin Connect.
If you are moving the watch to a new phone, Garmin provides a dedicated path: Watch Settings → Connectivity → Phone → Pair Phone. After pairing, Garmin Connect automatically syncs activity data when the app is running and the watch is within range.
If the phone will not connect, Garmin’s official troubleshooting advice includes restarting both devices, confirming Bluetooth is enabled, installing the latest Garmin Connect version, removing the watch from Garmin Connect and Bluetooth settings before pairing again, and keeping the phone within 10 meters of the watch.
Learn the Garmin Fenix 8 Controls
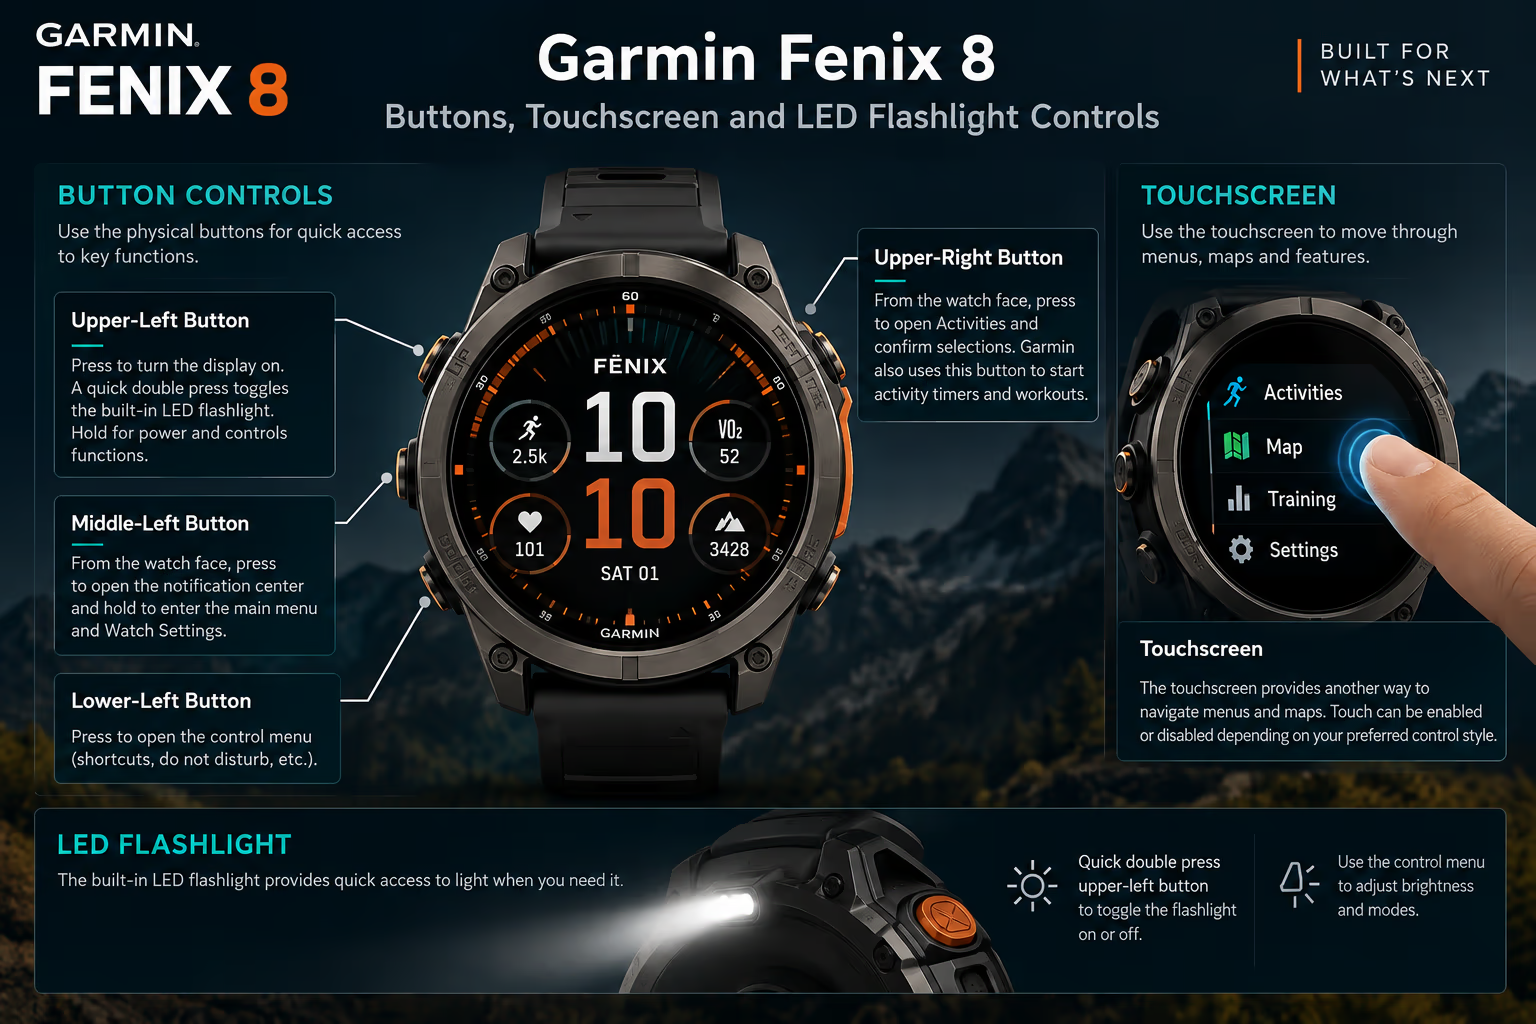
Learning the physical controls makes the Fenix 8 much easier to use during workouts, rain, cold conditions, or any situation where touch input is less convenient. Garmin also allows some button-hold functions and shortcuts to be customized.
Upper-Left Button
Press to illuminate the display. A quick double press toggles the built-in LED flashlight. Holding the button also provides power and controls functions.
Middle-Left Button
From the watch face, press to open the notification center and hold to enter the main menu and Watch Settings.
Upper-Right Button
From the watch face, use it to open Activities and confirm selections. Garmin also uses this button to start activity timers and workouts.
Touchscreen
The touchscreen provides another way to move through menus and maps. Touch can be enabled or disabled depending on your preferred control style.
Three shortcuts worth learning immediately
These official button actions are especially useful when you want to operate the watch without navigating through multiple menus.
- Double-press upper-left: LED flashlight on or off
- Hold middle-left: main menu and Watch Settings
- Press upper-right: open Activities and start selections
For a new owner, mastering these controls is one of the fastest ways to make the watch feel simpler. You can then customize shortcuts after you know which tools you use most.
Garmin Fenix 8 GPS Settings: Which Mode Should You Use?
Garmin lets you choose satellite behavior by activity. From the watch face, open Activities, choose an activity, scroll to its settings, and select Satellites. The available modes include GPS Only, All Systems, All + Multi-Band, Auto Select with SatIQ, and UltraTrac.
Garmin describes Auto Select as the SatIQ mode that dynamically chooses the most appropriate GNSS configuration for the environment while prioritizing battery life. Multi-band is designed to improve track consistency and positioning in difficult environments, while UltraTrac records track points and sensor data less frequently to extend battery life.
GPS Only
Uses GPS alone. It is the simplest satellite mode and generally consumes less power than multi-system or multi-band options.
All Systems
Uses multiple GNSS systems to improve acquisition and performance in challenging surroundings compared with GPS alone.
All + Multi-Band
Uses multiple GNSS systems across multiple frequency bands for improved positioning and more consistent tracks in difficult environments.
Auto Select / SatIQ
Dynamically selects the appropriate GNSS mode to balance positioning accuracy and battery priorities.
A sensible default for most outdoor activities
If you do not want to manage satellite modes manually every time, Auto Select is Garmin’s official setting designed to balance positioning accuracy with battery life. Choose All + Multi-Band when you specifically want the strongest positioning option in difficult environments, and consider UltraTrac only when battery conservation matters more than frequent track updates.
Because satellite settings are activity-specific, review the profiles you use most. A running profile can use a different GNSS strategy from hiking, cycling, or an ultra-distance activity, allowing you to tailor accuracy and battery use by sport.
Interested in the Garmin Fenix 8?
Check current availability and available Garmin Fenix 8 configurations.
How to Use Garmin Fenix 8 Health Tracking
The Fenix 8 combines wrist-based health metrics with Garmin’s longer-term trends. For the most useful data, wear the watch consistently, particularly overnight, and allow Garmin Connect to sync your history.
Garmin’s Health Status glance uses sleep data to provide context around heart rate, HRV, respiration rate, skin temperature, and sleep Pulse Ox. Garmin states that after three weeks of wear, you can select individual Health Status metrics to view history, baseline, and insights.
Garmin calculates Body Battery from HRV, stress, sleep quality, and activity data.
How to Use Training Readiness and Start Workouts
Garmin’s Training Readiness is a continuously updated score intended to help indicate how prepared you are for training. Garmin calculates it from the previous night’s sleep score, recovery time, HRV status, acute load, three-night sleep history, and three-day stress history.
The score ranges from 1 to 100. Garmin classifies 95–100 as Prime, 75–94 as High, 50–74 as Moderate, 25–49 as Low, and 1–24 as Poor. Treat it as one source of training context rather than as a command to train or rest.
Open Activities
From the watch face, press the upper-right button, select Activities, and choose the sport you want to use.
Open Training
In the selected activity, use the lower-left button and select Training to access supported workout options.
Choose a Workout
Garmin provides Quick Workout, Workout Library, and Training Calendar options where supported by the activity.
Start the Timer
Select the workout and press the upper-right button to start the activity timer.
Create or send workouts from Garmin Connect
Garmin Connect lets you find or build workouts under Training & Planning → Workouts, save them, and send compatible workouts to your watch.
For a useful Garmin Fenix 8 training setup, configure your preferred sport profiles first, then use Garmin Connect to organize workouts and review Training Readiness alongside your recovery, sleep, HRV, stress, and acute load trends.
Garmin Fenix 8 Battery Life: How to Make the Right Trade-Offs
Battery life depends heavily on model size, display behavior, GPS mode, music, sensors, notifications, and other enabled features. Garmin explicitly notes that real-world battery life varies with features such as wrist heart rate, smartphone notifications, GPS, internal sensors, and connected sensors.
| Fenix 8 AMOLED | Smartwatch Mode | GPS Only | All Systems + Multi-Band |
|---|---|---|---|
| 43 mm | Up to 10 days / 4 days always-on | Up to 28 h / 22 h always-on | Up to 21 h / 16 h always-on |
| 47 mm | Up to 16 days / 7 days always-on | Up to 47 h / 37 h always-on | Up to 35 h / 28 h always-on |
| 51 mm | Up to 29 days / 13 days always-on | Up to 84 h / 65 h always-on | Up to 62 h / 49 h always-on |
Use Gesture Display When Appropriate
On AMOLED models, Garmin’s official battery figures are substantially longer with Gesture display than with Always On Display.
Use SatIQ for Automatic GNSS Selection
Garmin designed Auto Select with SatIQ to dynamically choose GNSS behavior while prioritizing both positioning accuracy and battery life.
Reserve Multi-Band for Demanding Environments
Multi-band improves positioning in difficult environments but uses more battery than simpler satellite modes.
Use UltraTrac for Very Long Activities
UltraTrac saves battery by recording track points and sensor data less frequently, with reduced activity-recording quality as the trade-off.
- Use Gesture display instead of Always On Display when practical
- Use Auto Select / SatIQ for balanced GNSS behavior
- Limit music playback during long GPS activities
- Review connected sensors and notifications you do not need
- Use UltraTrac only when its lower recording frequency fits the activity
- Always On Display remains enabled
- Multi-band GNSS is used continuously
- Music is played during GPS activities
- Multiple sensors and connected features remain active
- Display and notification activity is high
For the 47 mm AMOLED model specifically, Garmin rates smartwatch mode at up to 16 days with Gesture display or up to 7 days with Always On Display. GPS-only mode is rated up to 47 hours with Gesture or 37 hours with Always On Display, while all-systems plus multi-band is rated up to 35 or 28 hours respectively.
Ready to check the available Fenix 8 models?
Compare the current retailer offer, case sizes, finishes, and available configurations.
Set Up the Garmin Fenix 8 Smart Features You Actually Use
After the core setup is complete, configure the connected features that matter to you. Garmin supports Wi-Fi network connections after the watch has first been connected to Garmin Connect or Garmin Express. On the watch, hold the middle-left button and open Watch Settings → Connectivity → Wi-Fi → My Networks → Search for Networks.
Bluetooth headphones can be paired from Watch Settings → Music → Audio Output → Add New. Garmin also allows supported Bluetooth sensors to be added from Watch Settings → Connectivity → Sensors & Accessories → Add New. Once paired, supported sensors reconnect automatically when an activity starts and the sensor is active and in range.
The Fenix 8 also includes apps and tools such as Voice Command, Phone Assistant, Voice Notes, Wallet for Garmin Pay, Health Snapshot, Map, Map Manager, Workouts, weather, saved locations, and other functions listed in Garmin’s official app catalog.
VIEW OFFICIAL GARMIN MANUAL →Garmin Fenix 8 Setup Questions and Common Problems
Most first-time issues involve pairing, battery expectations, GPS mode selection, or finding the correct menu. The questions below address the most useful setup and usage points using Garmin’s current official documentation.
How do I pair Garmin Fenix 8 with my phone?
Pair it through the Garmin Connect app rather than directly from your phone’s Bluetooth settings. During setup, scan the QR code shown by the watch and follow the Garmin Connect instructions.
What is the best Garmin Fenix 8 GPS setting for everyday outdoor use?
Garmin describes Auto Select with SatIQ as the mode that dynamically chooses the best available GNSS configuration while prioritizing accuracy and battery life. All + Multi-Band is the stronger manual option for difficult positioning environments.
How do I turn on the Garmin Fenix 8 flashlight?
Quickly press the upper-left button twice. Garmin lists this shortcut as the action for turning the built-in LED flashlight on or off.
How does Garmin Fenix 8 Training Readiness work?
Garmin calculates Training Readiness from sleep score, recovery time, HRV status, acute load, recent sleep history, and recent stress history. The score updates throughout the day.
Why is my Garmin Fenix 8 battery draining faster than the published estimate?
Garmin states that actual battery life depends on enabled features, including wrist-based heart rate, smartphone notifications, GPS, internal sensors, and connected sensors. Always On Display, multi-band GNSS, and music can also reduce runtime.
How do I add a Bluetooth sensor to Garmin Fenix 8?
Hold the middle-left button and go to Watch Settings → Connectivity → Sensors & Accessories → Add New, then search for all sensors or select the sensor type.
The most effective way to learn the Garmin Fenix 8 is to configure only the features you need first, then expand into maps, structured workouts, sensors, voice tools, and more advanced activity settings. That keeps the interface manageable while still taking advantage of Garmin’s deep training and outdoor feature set.
Official-source note: Product capabilities and menu paths in this guide are based on Garmin’s Fenix 8 product information and Fenix 8 Series Owner’s Manual, version 8, June 2026. Features can vary by model, region, activity, and software version.